

What is Zapier?
Zapier is an easy-to-use workflow automation tool that lets you connect the web apps you use every day. You can route data through them and automate repetitive tasks without coding or relying on developers.
Connect Chat Agents to hundreds of other apps with Zapier.
With Zapier integration from Chat Agent, you can share all your Chat Agent lead data in real time with more than 2,000 apps and services.
After our Chat Agents answers your chats, they add all data such as contact information, chat notes, and chat transcripts to our Zapier integrated app.
Then you have to use Zapier’s web interface to create commands, called zaps. Each Zap consists of two main parts: a trigger and an action.
The trigger is the event that triggers the Zap – in programming language, you can think of it as the “If this happens…” part of the action. There are countless triggers you can base a zap on.
Once you’ve created triggers and actions for Chatagents.com in your Zapier account, Zapier helps you automate everything by syncing your ChatAgents.com leads with one of many thousands of web apps. This way, your Chat leads can be automatically added to a spreadsheet, your mailing list, your favorite CRM, or thousands of other apps and tools instantly.
How to get started with Zapier & Chatagents.com
If you don’t have a Zapier account you can sign up for a free, go to Zapier.com and click on “Get Started Free”.
Once you have a Zapier account, you should see the main screen, which is Zapier’s dashboard. Here you can see your existing Zaps, create new ones, and work with existing templates. Hover over the left side of the screen to see options to create a new Zap, view your existing Zaps, view apps and services you’ve connected to Zapier, and more.
To help you get started, here are some popular pre-built Zaps.
To create a new Zap, hover over the top left button and click “Create Zap”.
Follow the instructions to create your Zap. Start by giving your Zap a catchy name that you can change later if you want. For example, Chatleads or Chatagents.
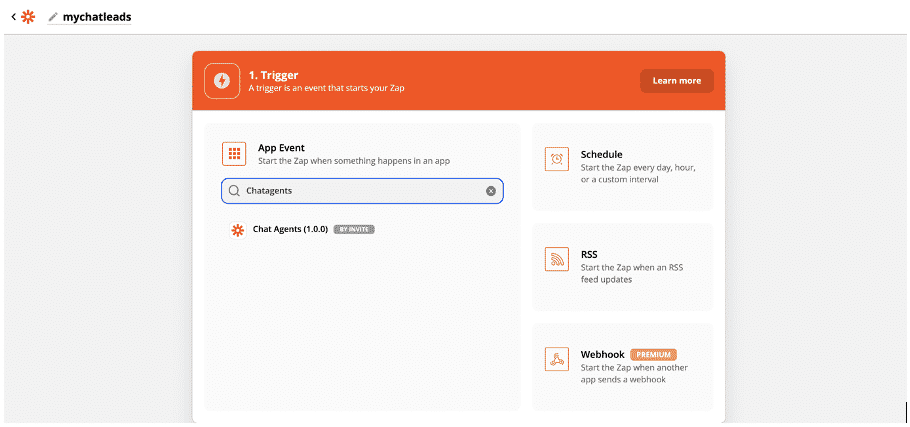
Next, search for ¨Chat Agents¨ as the app you want to set as a trigger and select it.
Then select a trigger event,
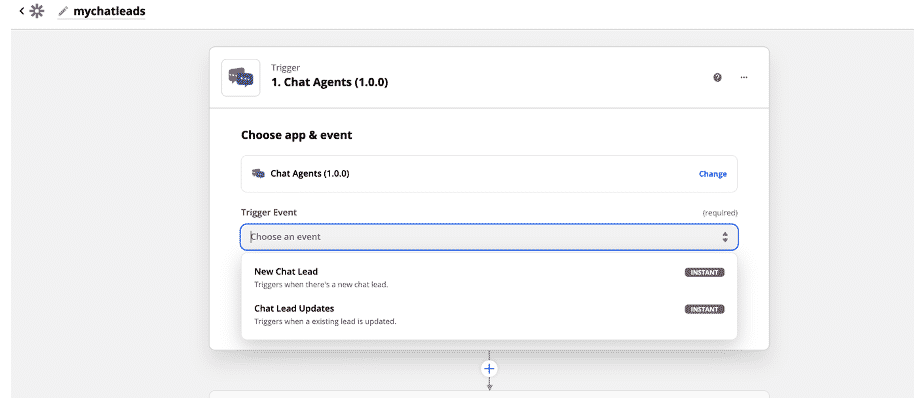
For example, if you want to perform an action when you receive a new chat lead, select “Chat Agents” and then set “New Chat Lead” as the triggering event.
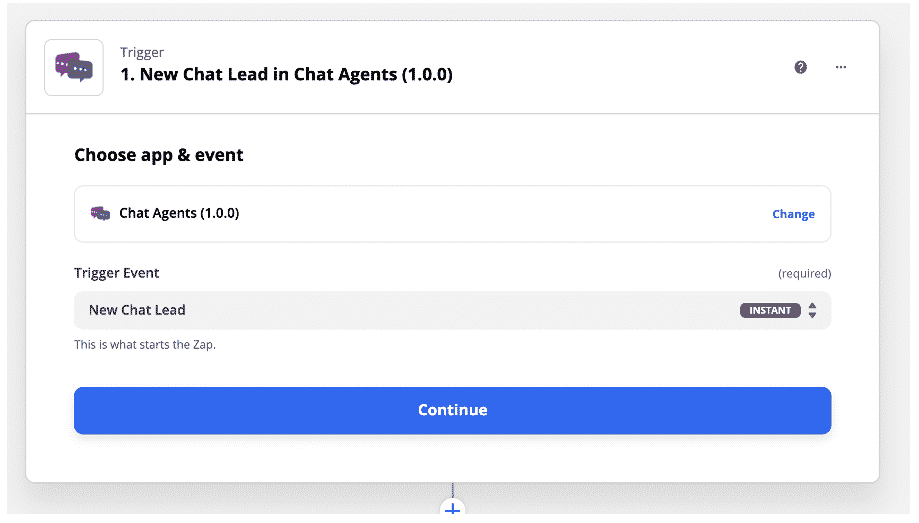
Click “Continue” after each step.
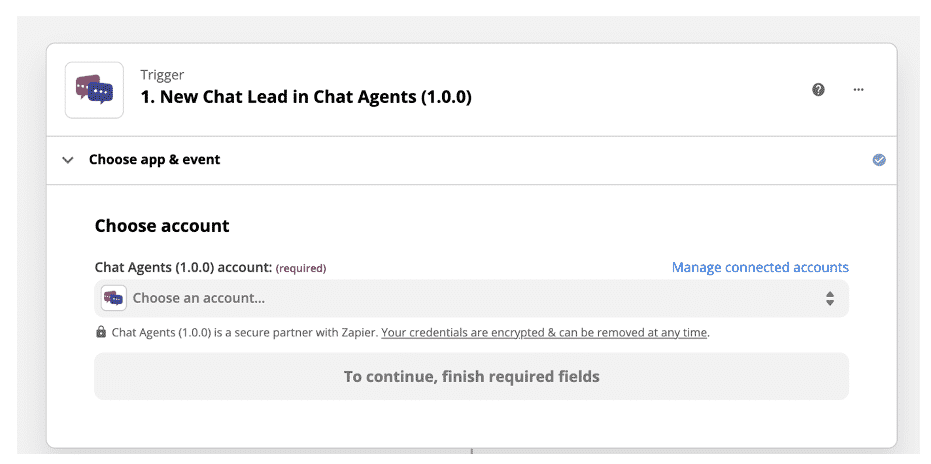
Under “Choose account“, select connect a new account.

This opens a window open,
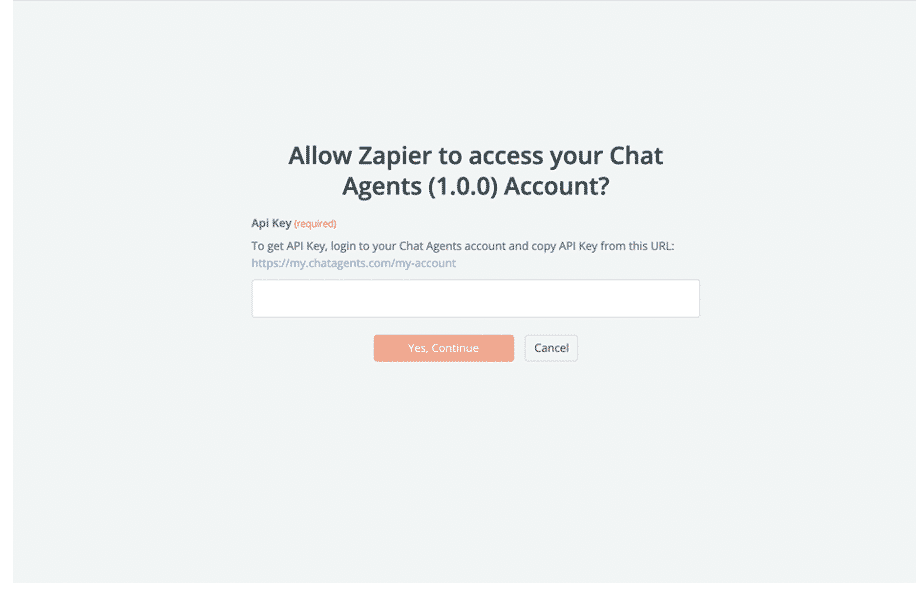
Now login to your Chat Agents dashboard at https://my.chatagents.com/ and go to “MY ACCOUNT” https://my.chatagents.com/my-account.
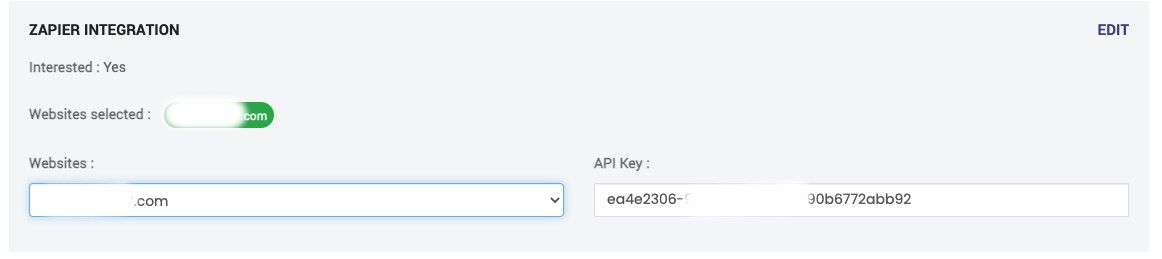
Scroll down to the bottom of the page, where it says “ZAPIER INTEGRATION” , select the website you need to integrate leads for and copy the API Key.
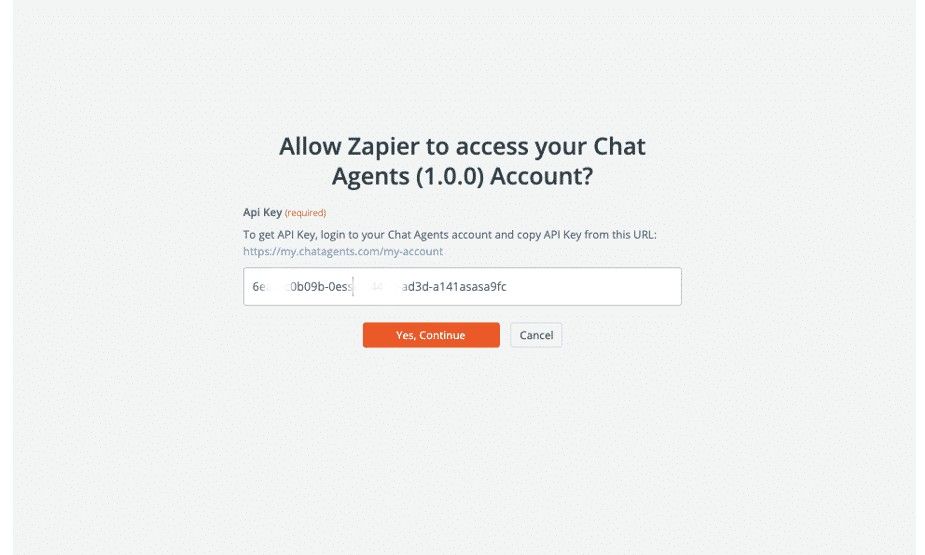
Now paste this key in the previous window at Zapier and press “Yes, Continue“.
After an account is connected, you can test the Trigger by clicking “Test Trigger“.
If everything is set up correctly, you will see the Test Trigger,
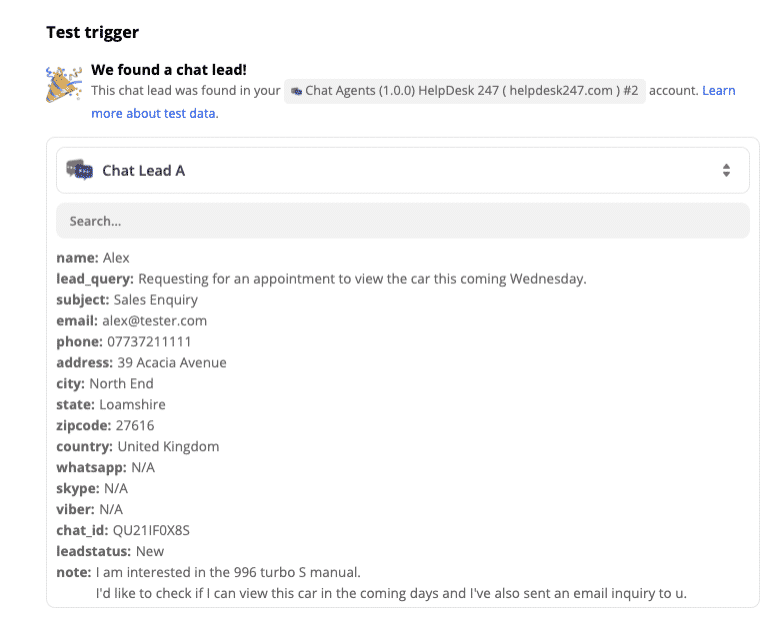
Then press “Continue” or click the “+” sign to set up the action.
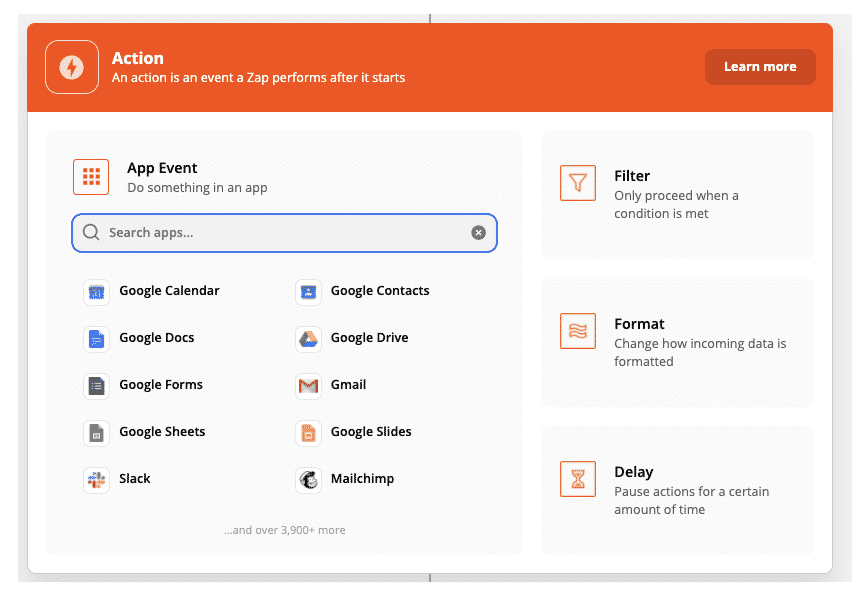
Here, select which app should receive the lead information whenever a new lead is added in Chat Agents. For simplicity, we will use Gmail as an example.
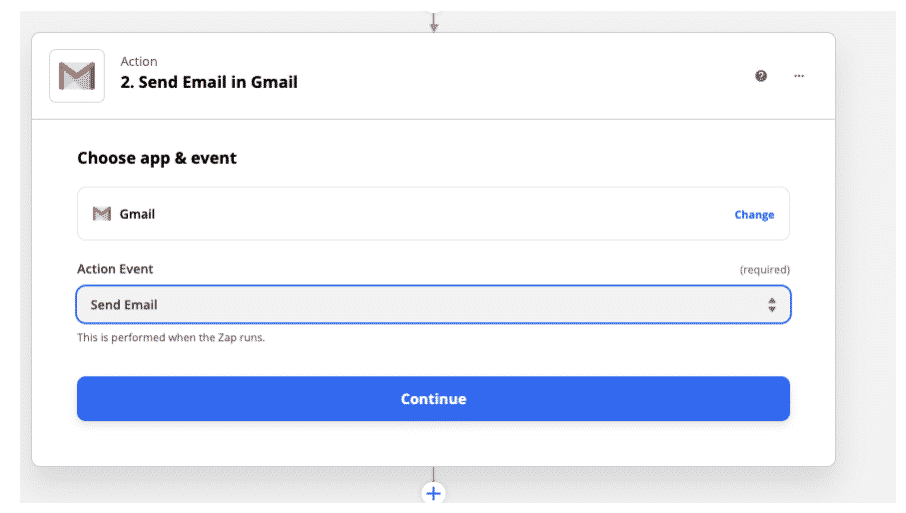
Then select an action event, such as send an email. So when a new lead is added, the lead information will be sent to your Gmail.
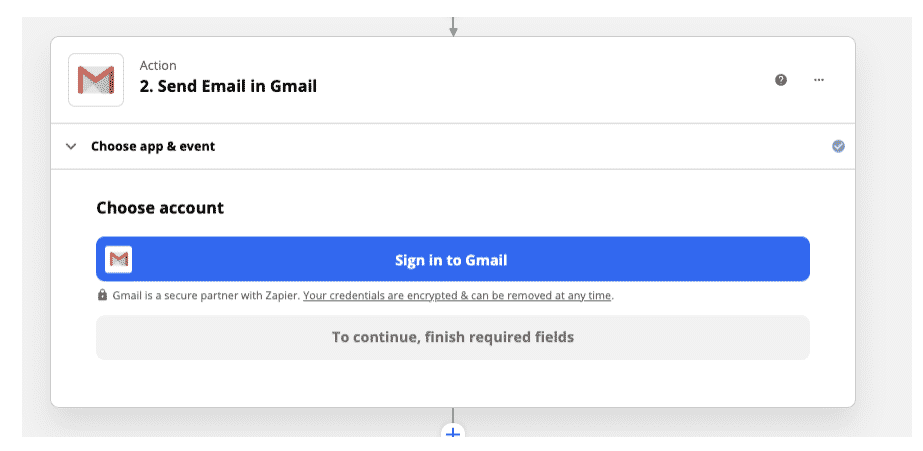
Next, select your Gmail account and sign in.
Once that’s done, you’ll see a verification window where Gmail will verify that you want to give Zapier access to your Google Account.
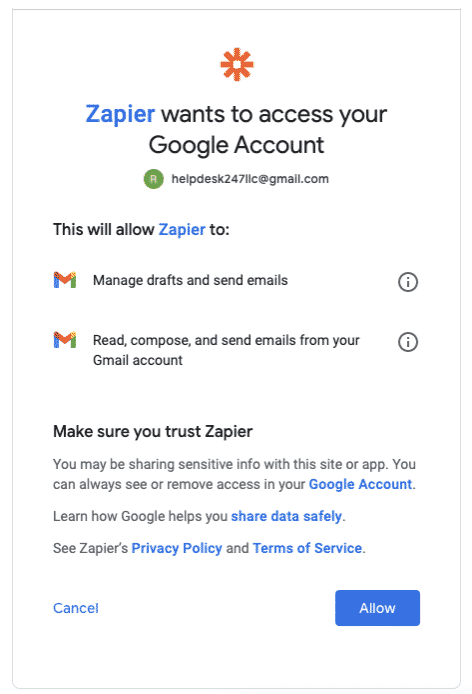
Click “Allow” and you’ll see your Gmail account connected in Zapier,
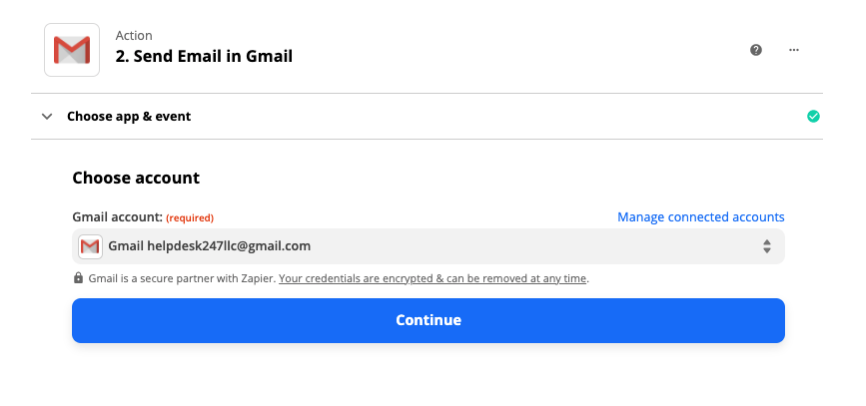
Again press, “Continue”, which will allow to set up the action.
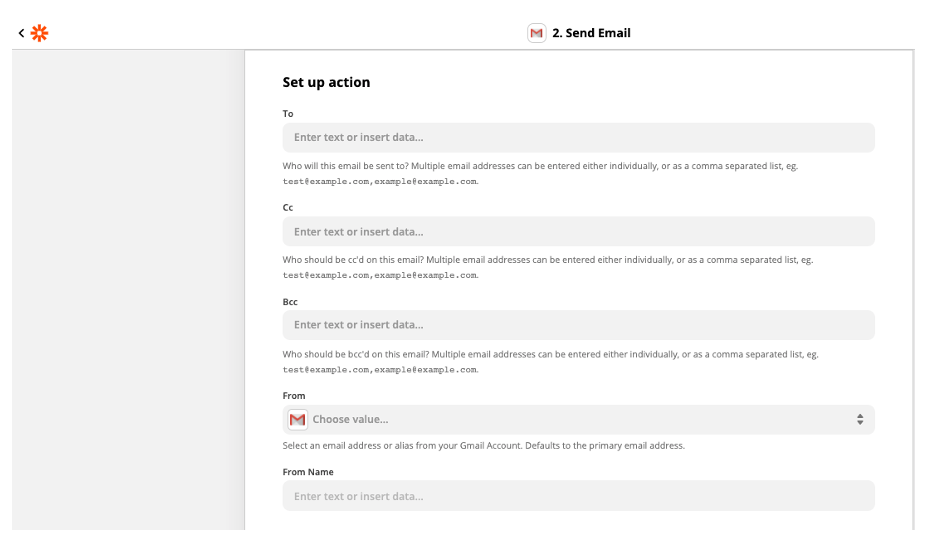
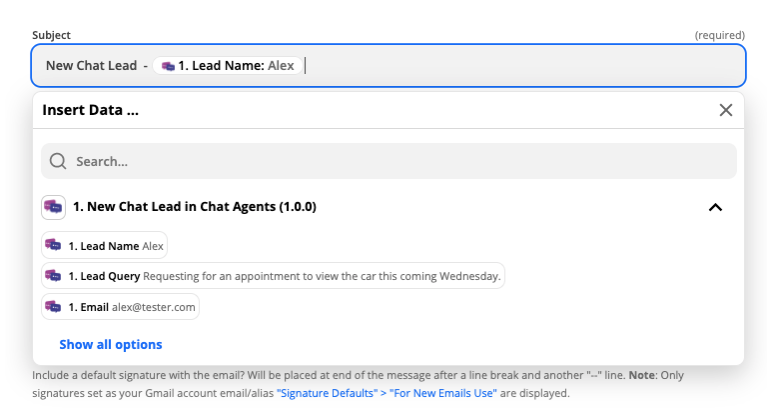
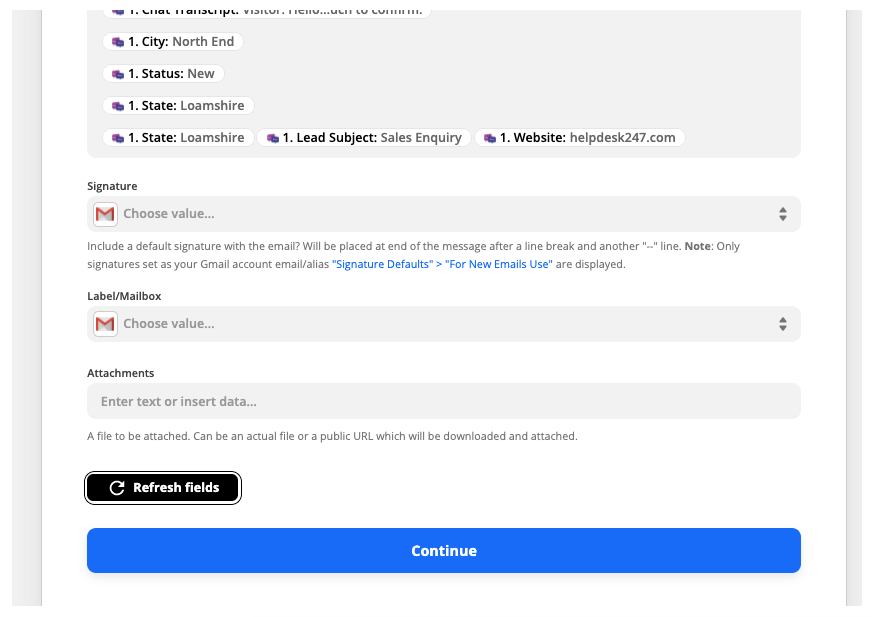
Here, specify all the details you want the lead to be sent to like To, From, Subject etc. We recommend that you include the Lead Name variable in the subject to easily identify the leads coming in your email.
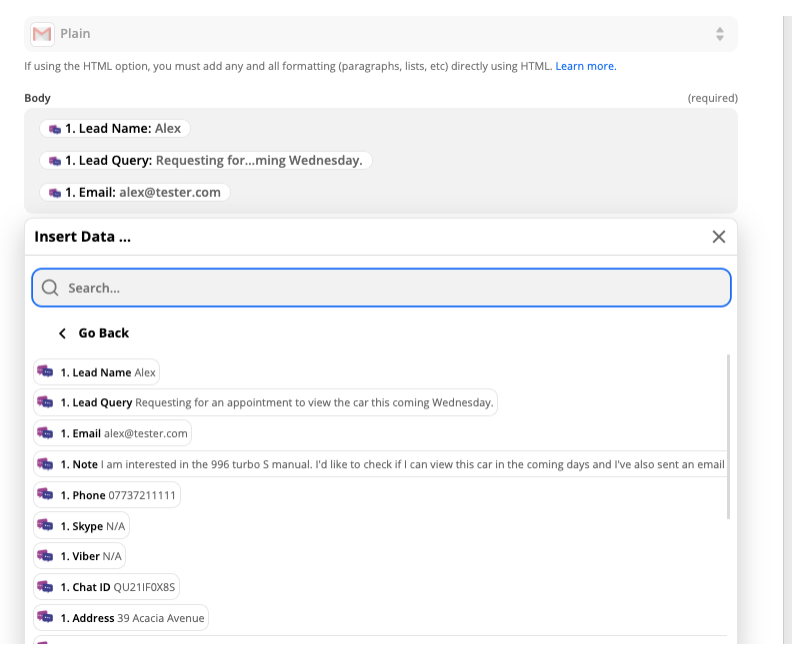
In the body of the email, you should include all the relevant lead data that you want to display and arrange them as per your choice.
Once that’s done, press “Continue”
Next, test the “Action”,
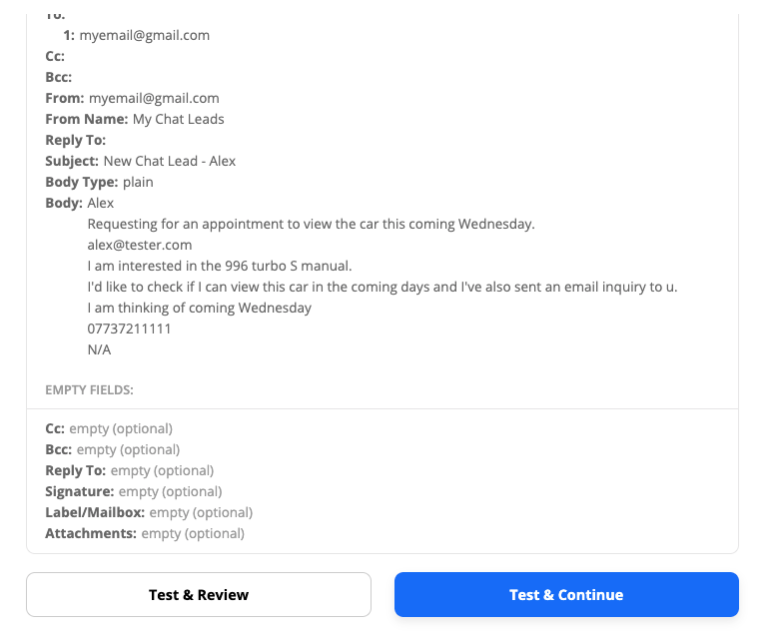
If the test was successful, you will see a “Test Was Successful” window.
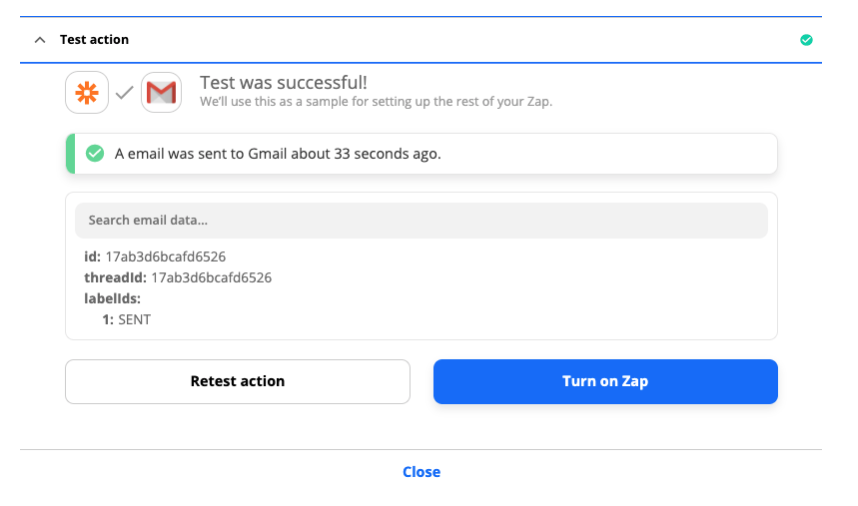
This means that the zapper is ready and you can now turn it on.
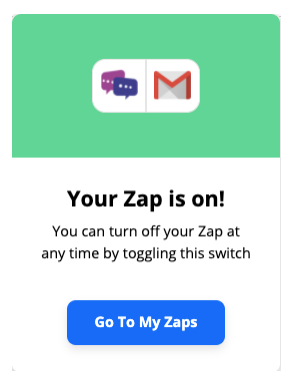
You should now see a popup saying that your “Zap is turned on!“
Finally, now go and check the email you entered in the “To” field and see if you want to change how the lead looks in the email and make any necessary HTML property changes to make it appear the way you want.
Now when you receive a new chat lead, the lead should automatically be sent to the email address you specified.
NOTE: Since a chat visitor can always return to ask more questions or provide additional information, we use another event called “Chat Lead Updates” to update the existing lead without having to create a duplicate of the lead data.
Therefore, you also need to create an additional Zap, similar to the one you created for “New Chat leads”, and set “Chat Lead Updates” as the triggering event for this Zap.
Once that’s done, you can start creating automation! Use a pre-built Zap or create your own using the Zap Editor. No programming knowledge is required to create a Zap, and you’ll be guided through the setup step-by-step.
Need some inspiration? Check out all the things you can do with Chat Agents and Zapier.

If you have any additional questions, you can reach out to [email protected].
If you have any questions or need help integrating your Chat Agents account with your CRM or other apps through Zapier, please contact us – we’ll be happy to do it for you, at no additional cost.